Cap sleeves can be tricky to understand, especially if you’re new to sewing or fashion design.
I’ve been there too, staring at a pattern and wondering what makes a cap sleeve different from a regular sleeve.
This guide covers everything you need to know, from the basic definition to drafting your own pattern.
I have worked with sleeve patterns for years, and I want to make this as clear as possible for you.
You’ll find what cap sleeves are, how to draft a cap sleeve pattern, and the best types of designs and styling tips.
Let’s get into it.
What Are Cap Sleeves? (Quick Overview)
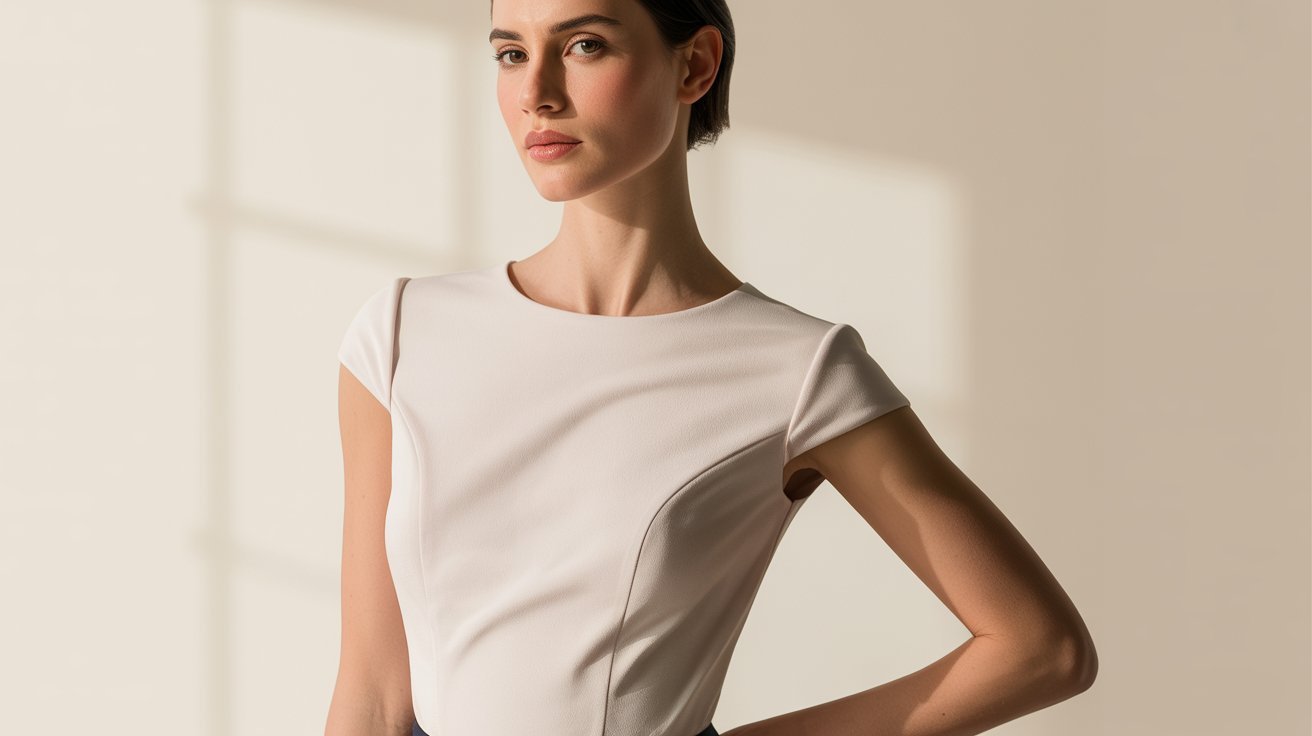
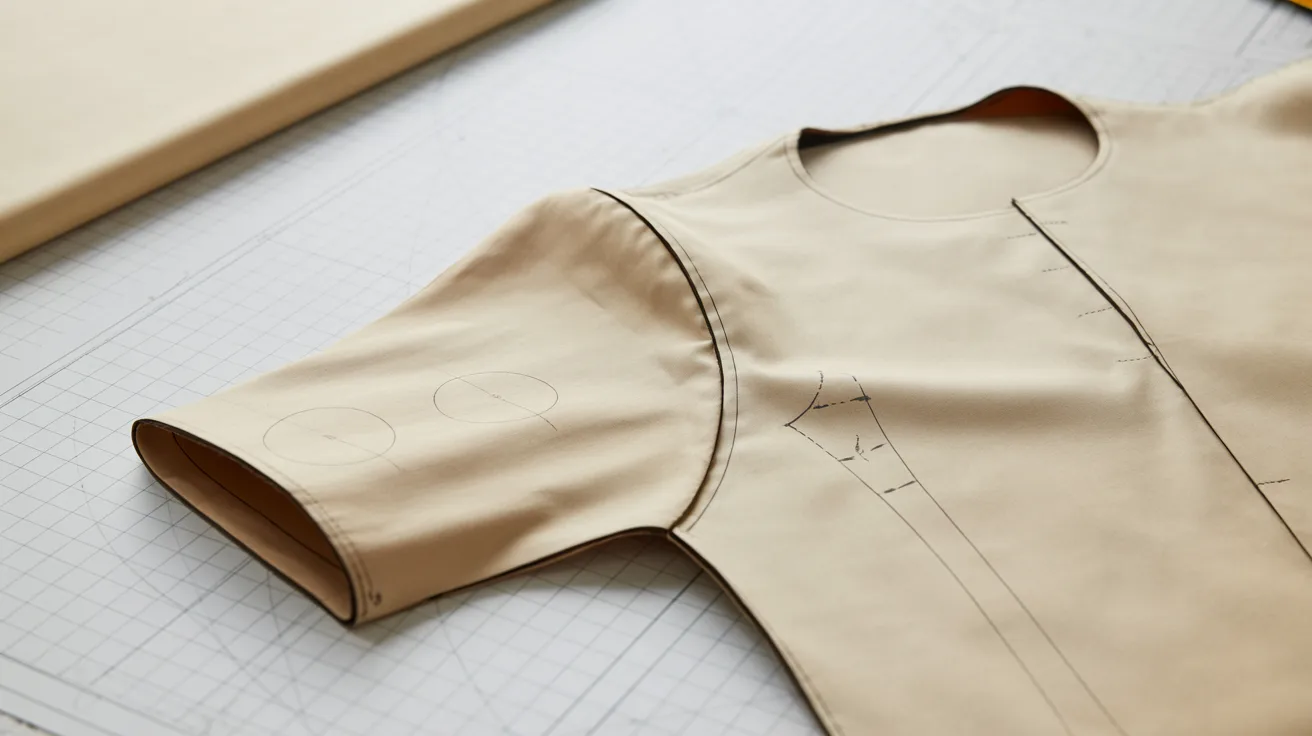
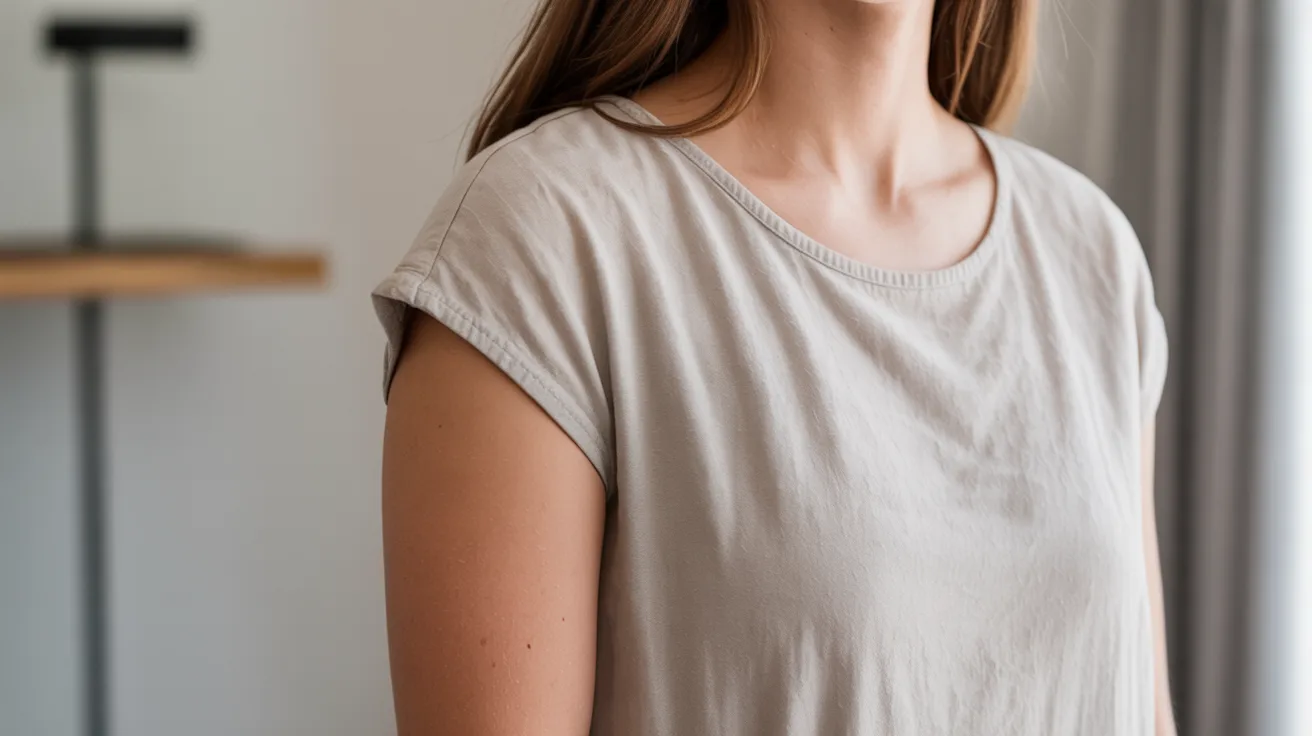
A cap sleeve is a very short sleeve that sits right at the top of the shoulder. It does not extend down the arm and follows the shoulder curve closely.
The outer edge has a soft, rounded shape that gives any garment a polished, neat look without adding bulk.
Many people confuse cap sleeves with short sleeves and sleeveless styles. A cap sleeve covers only the shoulder top. A short sleeve reaches the mid-upper arm.
A sleeveless style has no sleeve at all. The key difference is simply how much arm coverage each one gives.
Cap Sleeve Pattern Making Basics
Before you start cutting fabric, you need to understand how cap sleeve patterns work. These basics will save you a lot of time and frustration.
Understanding the Sleeve Block
A sleeve block is the base pattern used to create any sleeve style. It is drafted to fit a specific set of body measurements and includes the sleeve cap, grain line, and side seams.
For a cap sleeve, you start with a basic fitted sleeve block and cut it down to create just the cap portion. You do not need the full sleeve length.
Key Measurements and Marking Points
Getting your measurements right is the most important step.
You need the shoulder width from shoulder point to shoulder point, the armhole depth from shoulder to the bottom of the armhole, and the sleeve cap height from the top of the cap to the underarm line.
Mark these key points on your block before making any changes, as they guide all your pattern adjustments.
Reducing Sleeve Cap Height
A standard sleeve cap is tall, but a cap sleeve cap is much shorter. To reduce it, measure down from the top of the sleeve cap and draw a new cutting line.
The exact amount depends on how short you want the sleeve to be, but for most cap sleeves the cap height is reduced by about half or more.
Shaping the Sleeve Edge
Once you have shortened the cap, draw a smooth curve from the front sleeve seam to the back sleeve seam.
The curve should be gentle and rounded, not sharp or angular. This curved edge is what gives the cap sleeve its clean, signature look.
Step-by-Step Guide to Drafting Cap Sleeves
Here is a clear, step-by-step process to draft your own cap sleeve pattern from scratch.
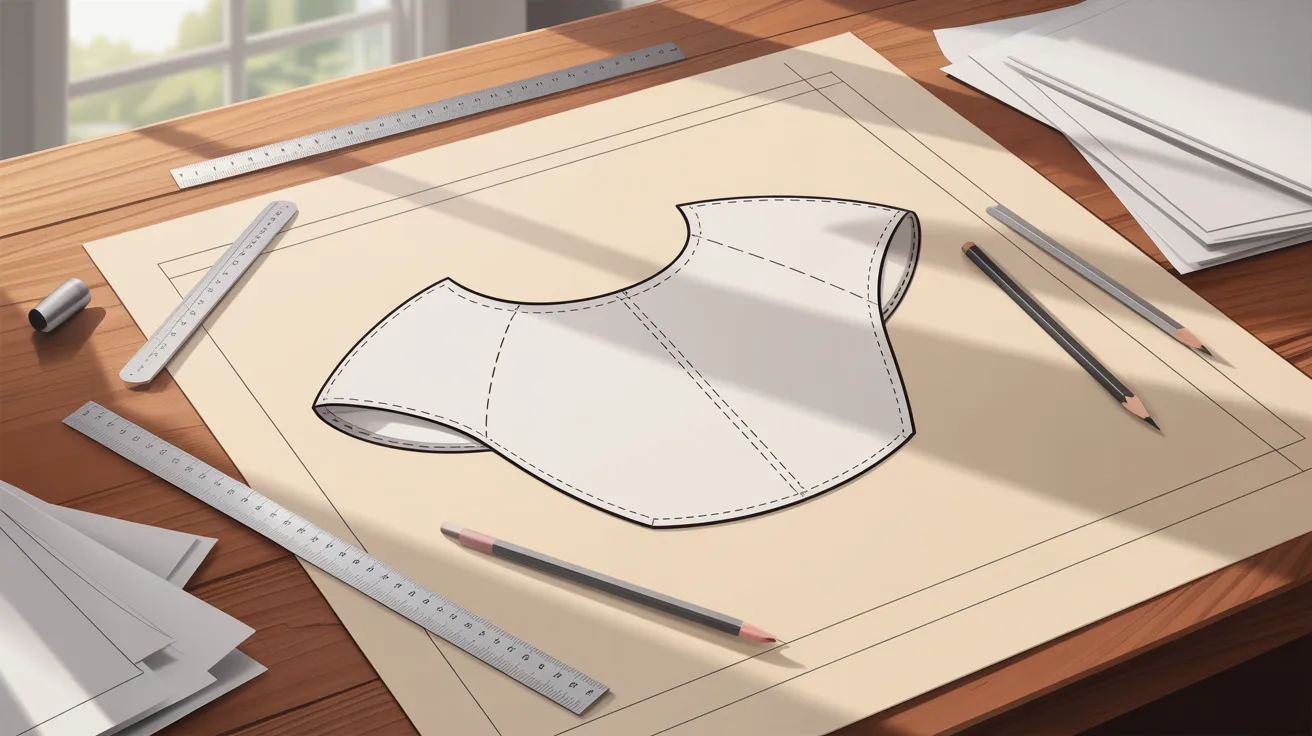
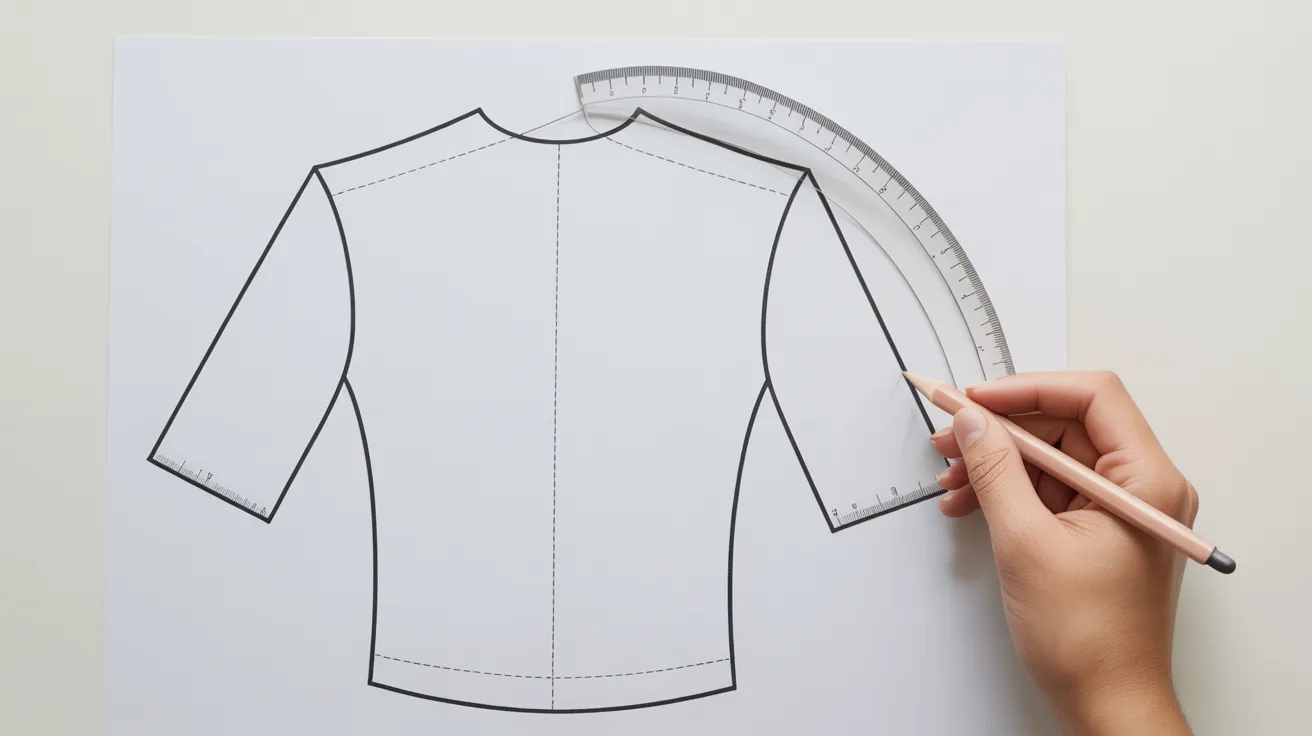
Step 1: Tracing the Sleeve Block
Start by placing your sleeve block on a fresh piece of pattern paper. Trace the full outline, including the sleeve cap and both side seams.
Keep all your original markings. You will use this tracing as the base for your cap sleeve. Do not skip this step, even if you think you know the block by heart.
Step 2: Marking Key Points (A, B, C)
Mark three key points on your tracing:
Point A: The top center of the sleeve cap.
Point B: The front underarm point (where the sleeve meets the front bodice).
Point C: The back underarm point (where the sleeve meets the back bodice).
These three points form the framework for shaping your cap sleeve.
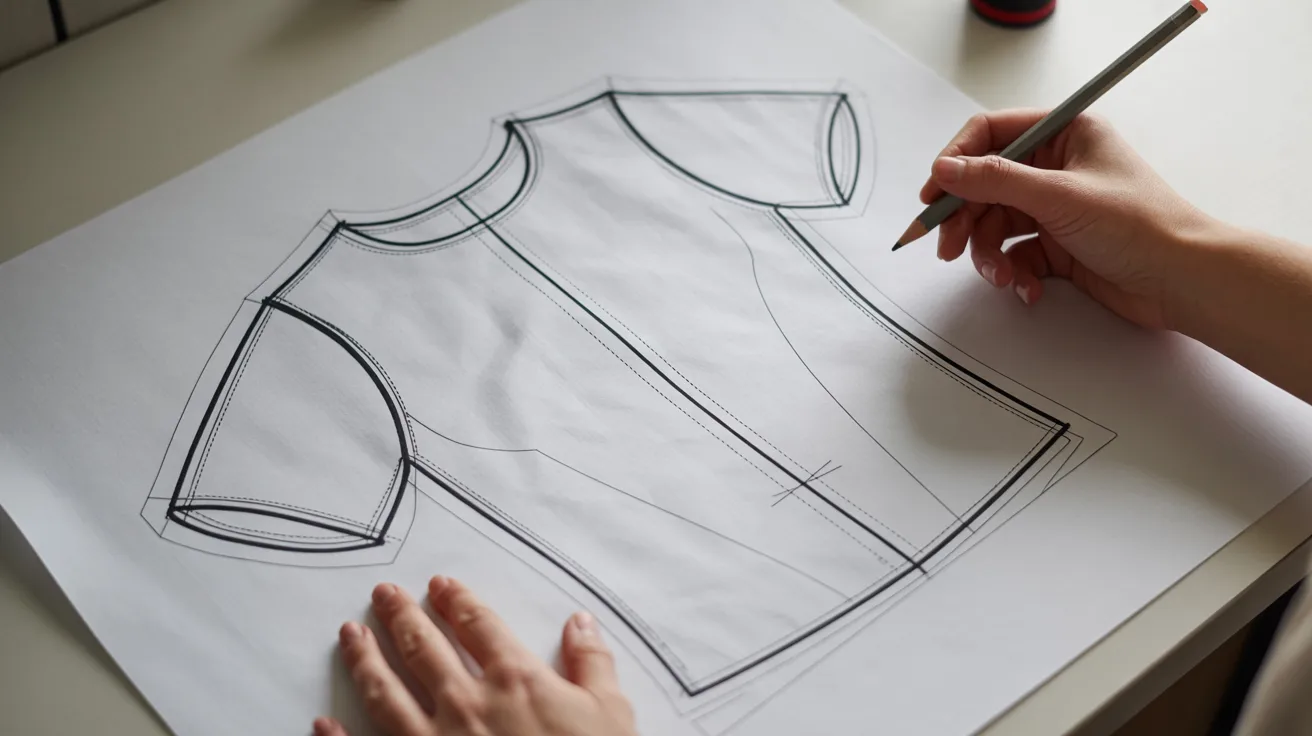
Step 3: Redrawing Sleeve Lines
Now you draw the new lines that define the cap sleeve.
From Point A, measure down to the desired cap sleeve length. Mark this point. Then connect this new point with a smooth, curved line to Point B and Point C.
Make sure the curve flows naturally. It should look like a soft arch, not a zigzag.
Step 4: Cutting and Spreading for Fullness

If you want a gathered or fuller cap sleeve, you need to add extra width.
Cut the pattern into sections from the lower edge up toward Point A. Do not cut all the way through. Spread each section apart slightly. Place the spread pattern onto fresh paper and trace the new shape.
The more you spread, the fuller your cap sleeve will be.
Step 5: Finalizing Pattern (Grainline, Notches, Seam Allowance)
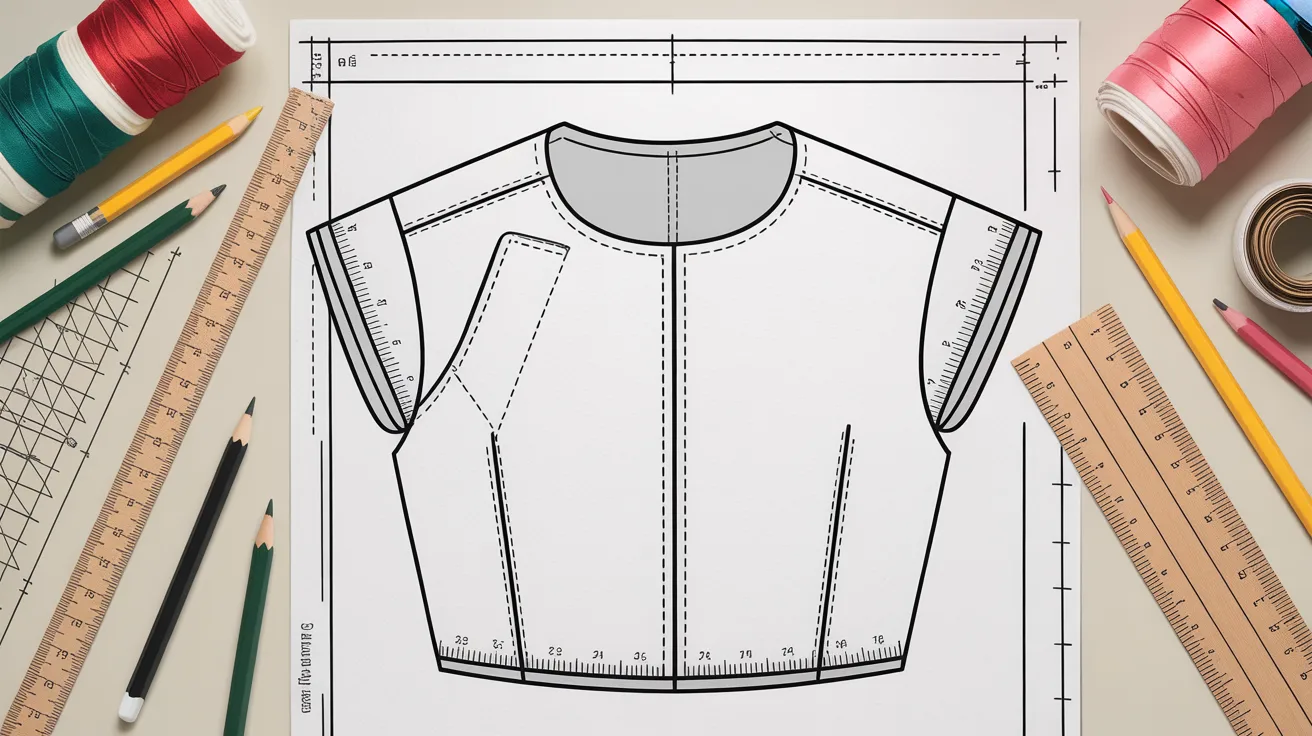
Before you call your pattern finished, check these things:
Grainline: Draw a straight line through the center of the pattern, parallel to the grain of the fabric.
Notches: Mark single notches on the front and double notches on the back. This helps you match the sleeve to the bodice correctly.
Seam Allowance: Add your seam allowance around the entire edge. A standard seam allowance is 1.5 cm or 5/8 inch.
Write the pattern piece name, size, and number of pieces to cut.
Types of Cap Sleeve Designs
Cap sleeves come in more styles than most people realize. Each one has a different look and works best for specific garment types.
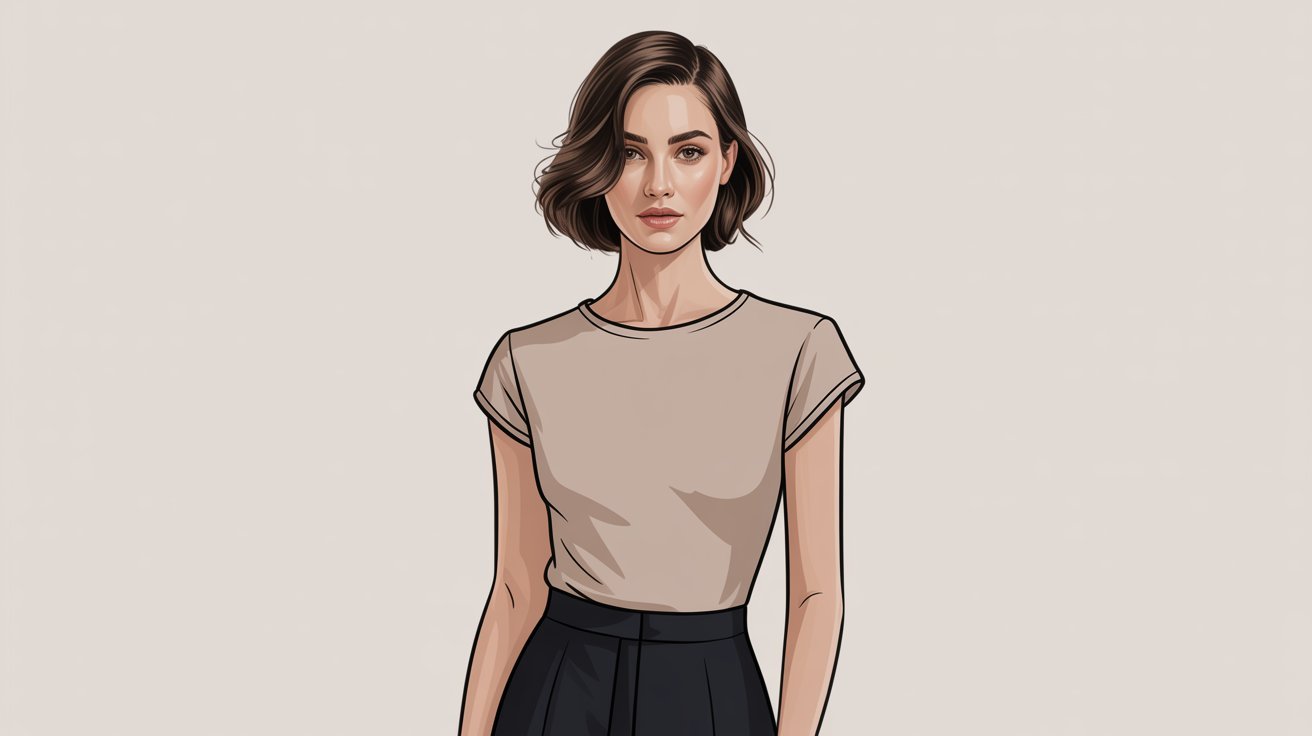
Basic Cap Sleeve
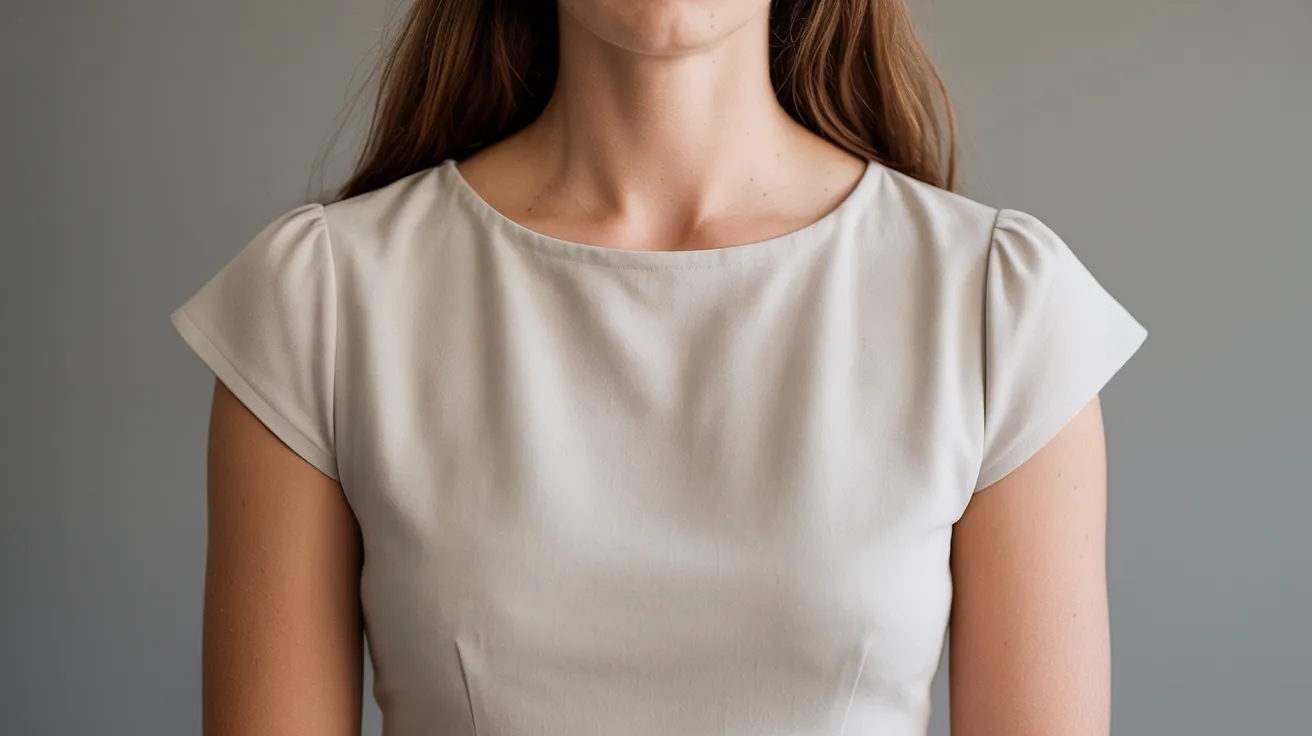
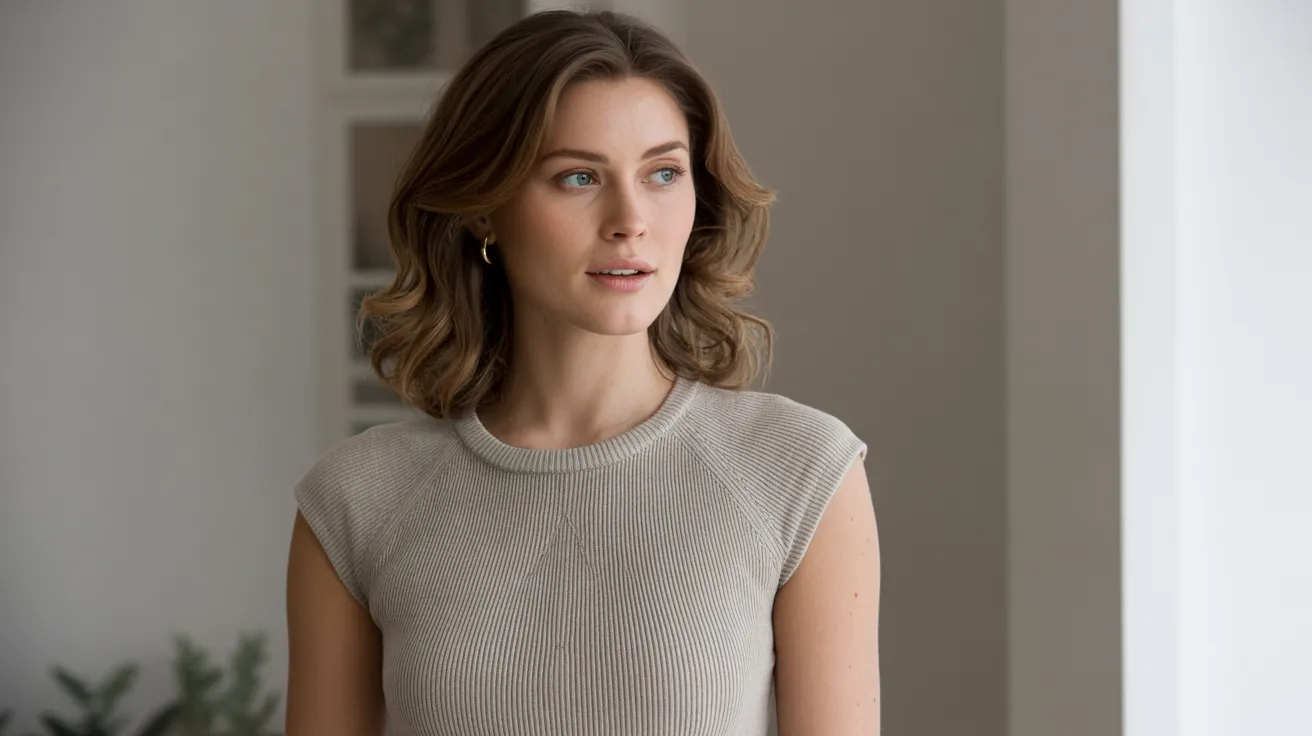
This is the most common type. It sits flat on the shoulder with no extra volume or gathering. The shape is clean and simple.
It works well for fitted tops, blouses, and casual dresses. It is the easiest type to sew and is a great starting point for beginners.
Extended Cap Sleeve
An extended cap sleeve is slightly longer than a basic cap sleeve. It extends a few centimeters down the upper arm.
This type offers a bit more coverage without looking like a full short sleeve. It is a good choice for people who want a modest but still light look.
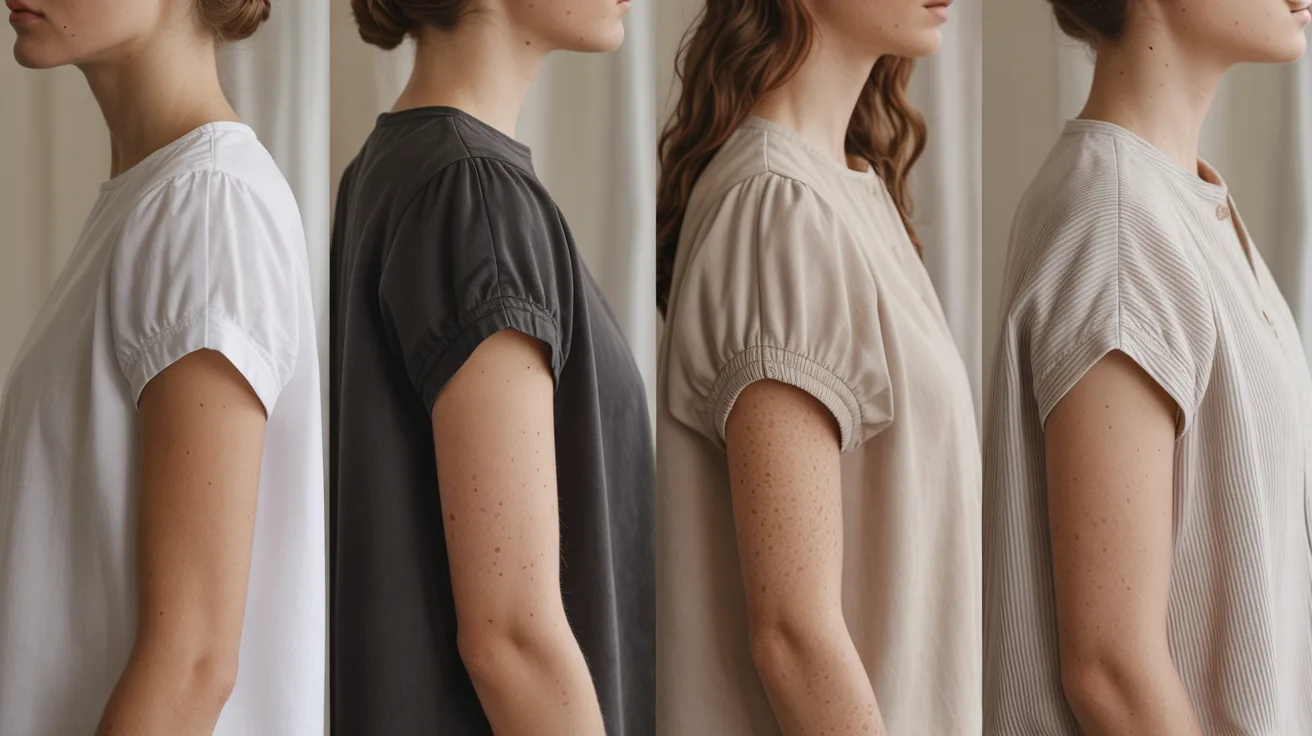
Gathered Cap Sleeve

A gathered cap sleeve has extra fullness built into the sleeve cap. The fabric is pulled together at the seam, creating a soft, puffy look.
This style works especially well in lightweight fabrics like cotton voile or chiffon. It adds a playful, feminine touch to any garment.
Structured vs Flowy Cap Sleeves
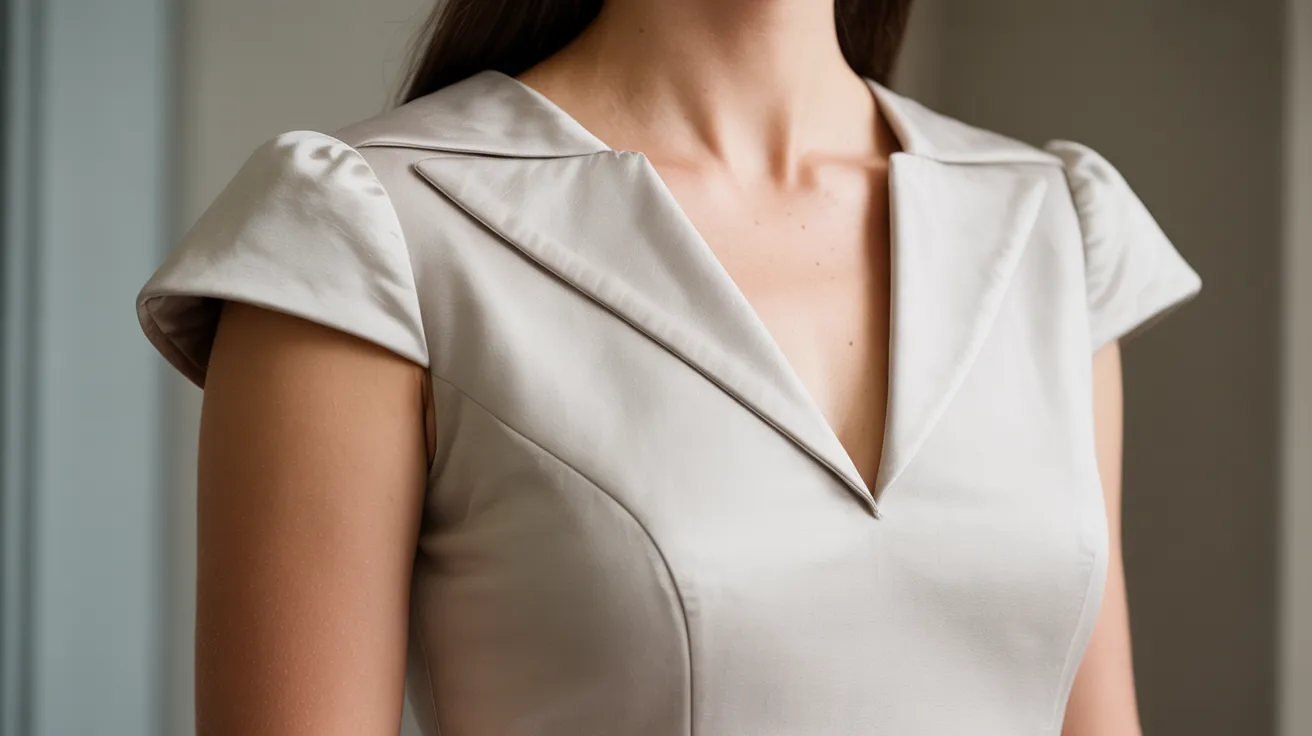
Structured Cap Sleeves are cut from stiffer fabrics or use interfacing to hold their shape. They look crisp and sharp. They are often seen in formalwear.
Flowy Cap Sleeves are made from soft, drapey fabrics. They move with the body and feel relaxed. They are more casual and comfortable.
The right choice depends on the fabric you’re using and the overall look you want.
Cap Sleeves in Dresses, Tops, and Blouses
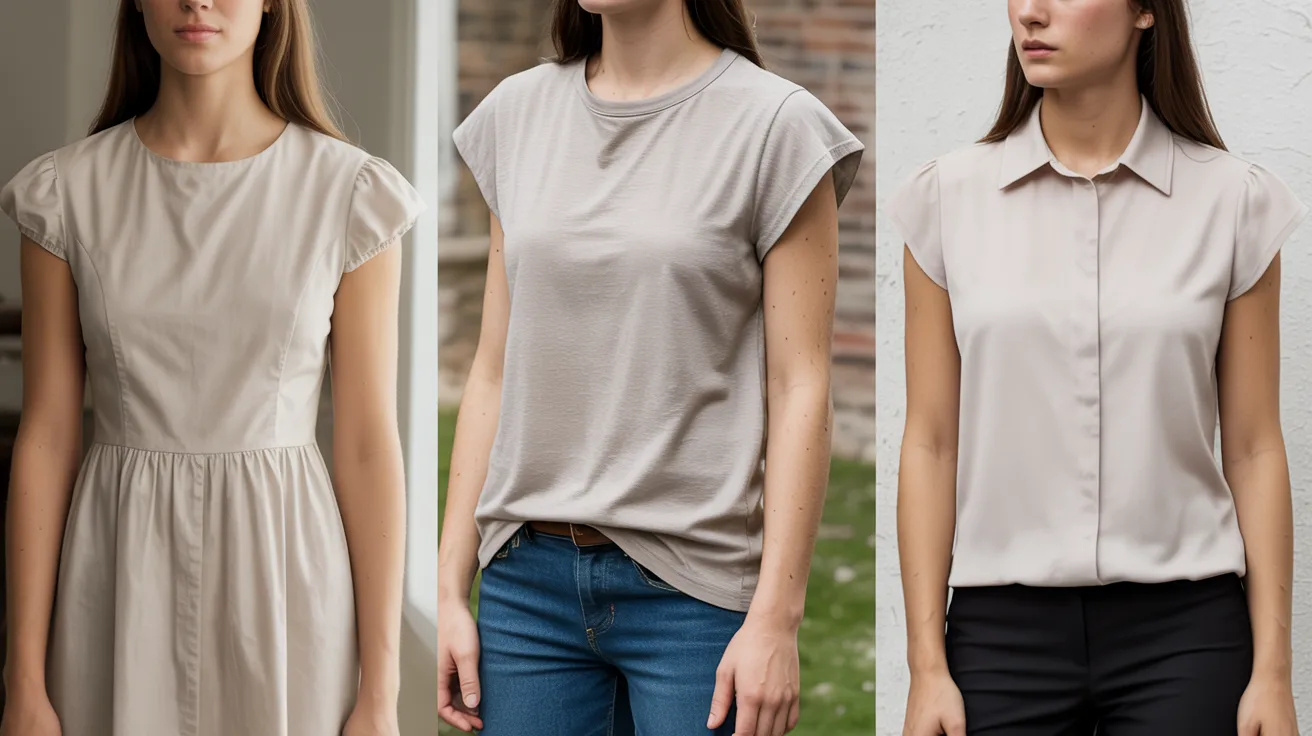
Cap sleeves work across many garment types.
In dresses, they add a sweet, classic look. They are common in A-line and shift dress styles.
In tops, they offer a neat finish that works for both casual and slightly formal settings.
In blouses, they pair well with collars and buttons to create a polished, put-together look.
Adding Design Variations to Cap Sleeves
Once you know the basics, you can start playing with design changes. Small adjustments can completely change the look and feel of a cap sleeve.
Adding Fullness for Volume
To add fullness, go back to the spreading technique from the drafting section. The key is to spread the pattern evenly. Uneven spreading leads to an unbalanced sleeve.
For a lot of volume, spread each section by 2 to 3 cm. For a subtle puff, spread by just 0.5 to 1 cm.
Creating Gathered or Puff Effects
To get a gathered look, cut your fabric with the extra fullness built in. When you sew the sleeve to the bodice, ease the extra fabric evenly. Use a basting stitch first to control the gathers.
For a puff effect, gather the lower edge of the sleeve as well as the cap seam. This creates a more defined puff shape.
Adjusting Length and Fit
Cap sleeves can be made longer or shorter depending on your design.
Shorter cap sleeves look very light and work well in formal or dressy garments. Longer versions offer more coverage and suit casual wear better.
To adjust fit at the shoulder, check the armhole seam carefully. The sleeve should sit right at the edge of the shoulder point, not behind it or in front of it.
Fabric Choice Impact on Design
Fabric makes a huge difference in how a cap sleeve looks.
Stiff fabrics like cotton broadcloth or linen hold the shape of the sleeve. They give a structured, neat look.
Soft fabrics like jersey, chiffon, or rayon drape and flow. They give a more relaxed look.
Stretch fabrics need special handling. The pattern may need to be adjusted for the stretch factor. A sleeve cut on the bias will also behave differently from one cut on the straight grain.
Common Mistakes to Avoid in Cap Sleeve Design
Small errors in cap sleeve design can affect the fit and finish of your entire garment.
- Reducing the sleeve cap too much or too little is the most common mistake. Always double-check your measurements before cutting.
- The sleeve must line up perfectly with the shoulder seam of the bodice. Pin it in place before sewing and adjust if needed.
- Too much fullness when spreading the pattern makes the sleeve look bulky and oversized. Start with a small spread and test in cheap fabric first.
- Too little fullness makes the gathering look flat and unimpressive. Always test your spread amount on a fabric scrap before the final cut.
- A pattern that works in cotton might look completely wrong in silk or knit. Always test your pattern in a similar fabric before cutting the final piece.
Styling Cap Sleeves in Garments
Cap sleeves are very easy to style. They work across a wide range of outfits and occasions.
Casual Wear Styling Ideas

For everyday wear, a simple cap sleeve top in cotton or linen is a go-to option.
Pair it with high-waisted jeans or wide-leg trousers for a relaxed but put-together look. Light colors and simple prints work best for casual settings.
A cap sleeve dress in a solid color is also a great casual option. Add a denim jacket and sneakers to complete the look.
Formal and Evening Looks
Cap sleeves work well in formal settings too.
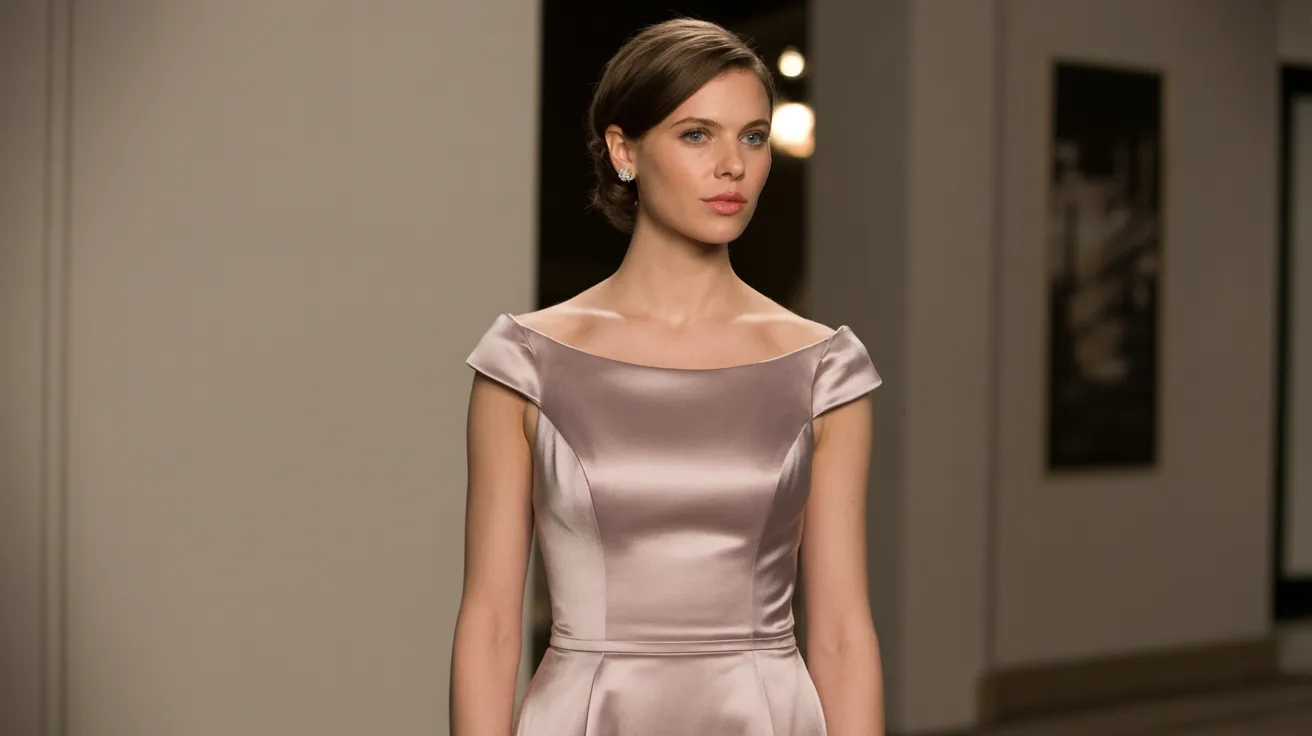
A fitted cap sleeve gown in satin or crepe is a classic evening look. It shows off the shoulders without being too revealing.
For a cocktail event, a structured cap sleeve dress in a rich fabric like velvet or jacquard is a strong choice. Keep accessories simple to let the sleeves speak for themselves.
Office and Professional Outfits

Cap sleeves are a smart choice for work settings. They look neat and professional without feeling too casual.
A cap sleeve blouse in a solid color or subtle print works well under a blazer. Pair it with trousers or a pencil skirt for a clean office look.
Make sure the fit is right. A poorly fitted cap sleeve looks unprofessional, no matter how nice the fabric is.
Layering with Jackets and Blazers

One of the best things about cap sleeves is how well they work under outerwear.
Because the sleeve is so short, there is no bunching or bulking under a jacket or blazer. The shoulder area stays smooth and clean.
Try a cap sleeve top under a structured blazer for a smart, polished look. Or layer under a denim jacket for something more casual and relaxed.
Why Cap Sleeves Are Popular in Fashion Design
Cap sleeves have stayed popular in fashion for decades because they work for almost everyone. They draw attention to the shoulders in a subtle way, creating a clean line that makes the upper body look defined and balanced.
They also hit a sweet spot between coverage and comfort, giving you a finished look without feeling heavy or restrictive. Few sleeve styles move as easily between casual, formal, and professional settings.
The fabric and garment shape do the heavy lifting, while the cap sleeve quietly does its job.
Conclusion
Cap sleeves are one of those details that look simple but make a real difference in how a garment fits and feels.
I remember struggling with my first cap sleeve pattern, spreading it too much and ending up with a puffy mess. It takes practice, but once it clicks, you’ll love working with them.
I hope this guide made things clearer for you. Now go give it a try.
Leave a comment below with your experience, share this post with a fellow sewist, or check out our other pattern guides.
Frequently Asked Questions
What is the difference between a cap sleeve and a puff sleeve?
A cap sleeve is short and flat, sitting just on the shoulder with minimal volume. A puff sleeve has extra fullness gathered at the sleeve head, creating a rounded, puffy look.
Can I add cap sleeves to a sleeveless pattern?
Yes, you can. Draft a cap sleeve pattern based on the armhole of your sleeveless pattern and sew it in. Make sure to match the notches and seam allowances carefully for a clean fit.
What fabrics work best for cap sleeves?
Medium-weight woven fabrics like cotton, linen, and crepe work very well. For a softer look, try chiffon or rayon. Avoid very thick fabrics, as they can make the shoulder area look heavy and bulky.
How do I stop my cap sleeve from flipping or rolling outward?
Make sure the sleeve cap is sewn with the correct ease and that the seam is pressed well. You can also understitch the seam allowance to the sleeve to help it stay flat and in place.
Are cap sleeves suitable for all body types?
Cap sleeves work well for many body types. They tend to flatter narrower shoulders by adding a slight visual frame. People with broader shoulders may want to choose a fabric or design that keeps the sleeve lying flat to avoid adding extra width.